Bathroom Renovation Lighting Guide
A practical step-by-step guide to bathroom renovation lighting guide, including preparation, instructions, common issues, tips, and next steps.
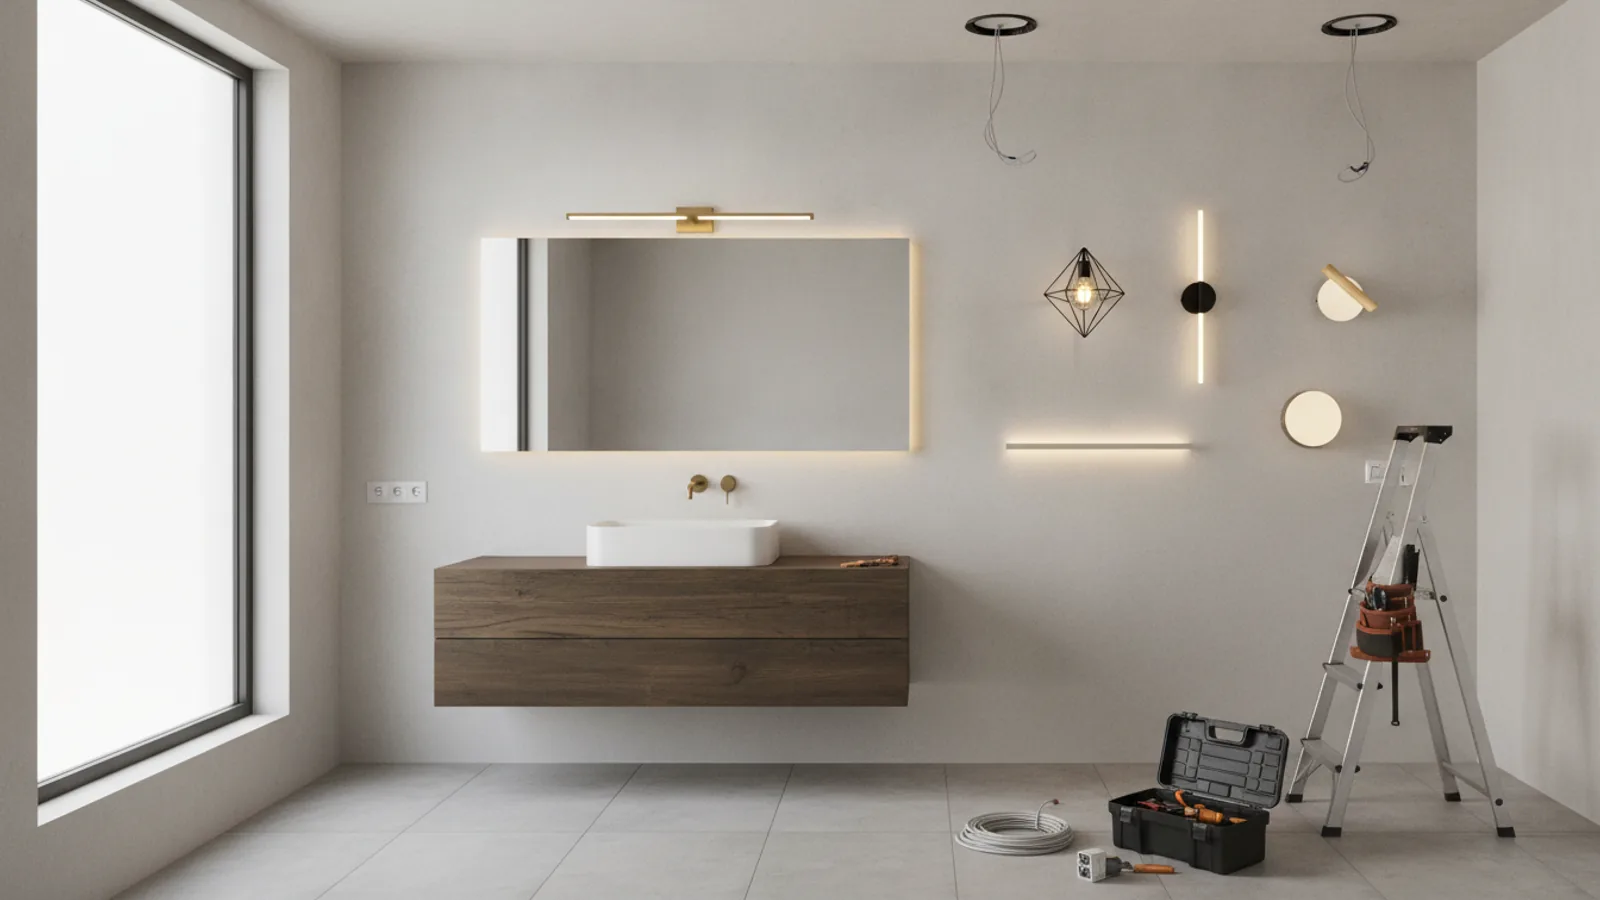
Bathroom Renovation Lighting Guide
This guide explains how to approach bathroom renovation lighting guide, including the preparation, practical steps, common mistakes, and final checks that help you finish with confidence.
Before You Start
Step-by-Step Instructions
Quick Reference
Common Problems When You Plan Bathroom Renovation Lighting
Even with careful planning, some common issues can arise during your bathroom renovation lighting journey. Being aware of these can help you avoid them.
- Incorrect IP Rating: This is perhaps the most serious issue. Using a light fixture with an insufficient IP rating in a wet zone is a major safety hazard. Always double-check IP ratings against bathroom zones. If you're unsure, opt for a higher IP rating than strictly required, or consult your electrician.
- Too Little Task Lighting: Many people focus on general lighting and forget to add dedicated task lighting around the mirror. This results in poor visibility for grooming, leading to frustration and poorly applied makeup or missed spots shaving. Ensure two light sources around the mirror or a fully illuminated mirror.
- Poor Switch Placement: Locating switches too far from the entrance or in inconvenient spots (e.g., behind the open door) can be annoying. Also, placing standard switches inside wet zones is a safety breach in the UK. Plan switch locations carefully with your electrician, considering pull-cords or external switches.
- Unwanted Shadows: Placing a single light directly above the mirror can cast harsh shadows on your face, making grooming difficult. This often happens if the general lighting is the only source. The solution is dedicated task lighting flanking the mirror.
- Too Bright or Too Dim: A bathroom that is either blindingly bright or perpetually dim can be uncomfortable. This often happens when only one type of light (e.g., just general downlights) is used without dimmers. Layered lighting with dimmable options provides flexibility to adjust brightness for different needs.
- Ignoring Natural Light: If your bathroom has a window, make the most of it! Don't place fixtures in a way that blocks or diminishes natural light during the day. Consider how artificial light complements or compensates for natural light at different times.
- Inadequate Ventilation: While not strictly lighting, poor ventilation can lead to excessive moisture build-up, potentially affecting the lifespan of light fixtures and causing other problems like mould. Ensure your extractor fan is properly sized and positioned, as this works hand-in-hand with maintaining a healthy bathroom environment for your lights.
Advanced Tips for Bathroom Renovation Lighting Guide
Once you've mastered the basics of bathroom renovation lighting, these advanced tips can elevate your design and functionality even further.
- Smart Lighting Integration: Consider incorporating smart lighting systems. These allow you to control brightness, colour temperature, and even turn lights on/off via an app, voice commands, or motion sensors. This offers unparalleled convenience and can contribute to energy savings by automating routines.
- Niche and Alcove Lighting: Add subtle LED strip lighting within shower niches, shelving units, or wall alcoves. This creates beautiful accent lighting, highlights architectural features, and can serve as a soft night light without being overly bright. Ensure the IP rating is appropriate for the location.
- Backlighting for Mirrors or Features: Installing LED strips behind a floating mirror or around the edge of a custom vanity can create a dramatic "halo" effect. This adds a luxurious feel and provides a soft ambient glow, enhancing the overall mood of the room.
- Concealed Lighting: Think about hiding light sources to create an indirect glow. For instance, cove lighting (LED strips hidden in a ceiling recess) can wash the ceiling or walls with light, making the room feel larger and more ethereal.
- Under-Cabinet or Toe-Kick Lighting: Low-level LED strips installed under a floating vanity or along the bottom of base cabinets (toe-kick lighting) provide a soft, practical guide light for night-time visits without needing to turn on brighter overhead lights.
- Consider Light Quality (CRI): While lumens and Kelvin are important, also look at the Colour Rendering Index (CRI) of a light source. A higher CRI (90+ is excellent) means the light will show colours more accurately, which is especially important for task lighting around a mirror to ensure makeup colours appear true.
- Embrace Natural Light with Reflective Surfaces: Use large mirrors, glossy tiles, and light-coloured surfaces to maximise the reflection and distribution of natural light. This makes the bathroom feel brighter and more spacious during the day, reducing the need for artificial lighting.
Bathroom Renovation Lighting Guide FAQ
What is an IP rating and why is it important for bathroom lighting?
An IP (Ingress Protection) rating is a two-digit code that indicates how well an electrical enclosure is protected against solids (like dust) and liquids (like water). For bathroom lighting, it's critically important because electricity and water are a dangerous combination. The higher the numbers, the greater the protection. You must match the light fixture's IP rating to the specific zone in your bathroom where it will be installed to ensure safety and comply with UK building regulations.
How many lumens do I need for a bathroom?
There's no single answer, as it depends on the size of your bathroom, ceiling height, and personal preference. However, a general guideline is to aim for 500-800 lumens per square metre for overall ambient lighting. Task areas like the mirror might benefit from additional, more focused lumens. Remember, using dimmers gives you flexibility to adjust brightness as needed.
Can I install bathroom lighting myself?
In the UK, it is highly recommended and often a legal requirement to have a qualified and registered electrician install all electrical fittings in a bathroom. This is due to the inherent dangers of electricity in a wet environment and the specific Building Regulations (Part P) that apply. Attempting DIY electrical work in a bathroom can be extremely dangerous and may invalidate your home insurance.
What's the best colour temperature for bathroom lighting?
The "best" colour temperature depends on the mood and function you want to achieve. For general and task lighting around the mirror, a cool white (3500K-4500K) is often preferred as it provides clear, bright light suitable for grooming. For a more relaxing, spa-like atmosphere, especially for accent lighting or dimmable general lights, warm white (2700K-3000K) can be ideal. Many modern setups use a mix, or smart lighting that allows you to change the colour temperature.
Where should light switches be placed in a bathroom?
For safety in the UK, conventional light switches (rocker switches) are generally not permitted within bathroom Zones 0, 1, or 2. They must be located outside the bathroom door. Alternatively, pull-cord switches can be installed within Zone 2 or outside of it. Always consult your electrician for the correct and safest placement options compliant with current regulations.
Final Checklist for Bathroom Renovation Lighting Guide
- Bathroom Zones and IP Ratings: Have you correctly identified the zones for each light fixture and ensured all chosen lights have the appropriate IP rating?
- Layered Lighting Plan: Have you planned for general, task, and accent lighting to meet all functional and mood requirements?
- Brightness and Colour Temperature: Have you considered the lumens needed for adequate brightness and the Kelvin temperature for the desired mood in each area?
- Fixture Types Selected: Are the chosen light fixture types (downlights, wall lights, LED strips, etc.) suitable for their intended purpose and location?
- Switch Placement: Have you planned safe and compliant locations for all light switches, preferably outside wet zones or using pull-cords?
- Energy Efficiency: Are all your chosen light sources energy-efficient, preferably using LED technology?
- Electrician Consultation: Have you discussed your detailed lighting plan with a qualified, registered electrician and confirmed their involvement for all installations?
- Ventilation: Have you ensured adequate bathroom ventilation is in place to protect electrical fittings from excessive moisture?
- Wiring Paths: Are the wiring paths for new fixtures considered in your renovation plans, coordinating with other trades?
- Budget Allocated: Have you factored the cost of lighting fixtures and professional installation into your overall renovation budget?