Kitchen Renovation Lighting Guide
A practical step-by-step guide to kitchen renovation lighting guide, including preparation, instructions, common issues, tips, and next steps.
Kitchen Renovation Lighting Guide
This guide explains how to approach kitchen renovation lighting guide, including the preparation, practical steps, common mistakes, and final checks that help you finish with confidence.
Before You Start
Step-by-Step Instructions
Quick Reference
Common Problems When You Renovate Kitchen Lighting
Even with careful planning, issues can arise during or after your kitchen renovation lighting project. Knowing these common problems and their solutions can save you time and frustration.
Problem: Too many shadows on worktops while prepping food.
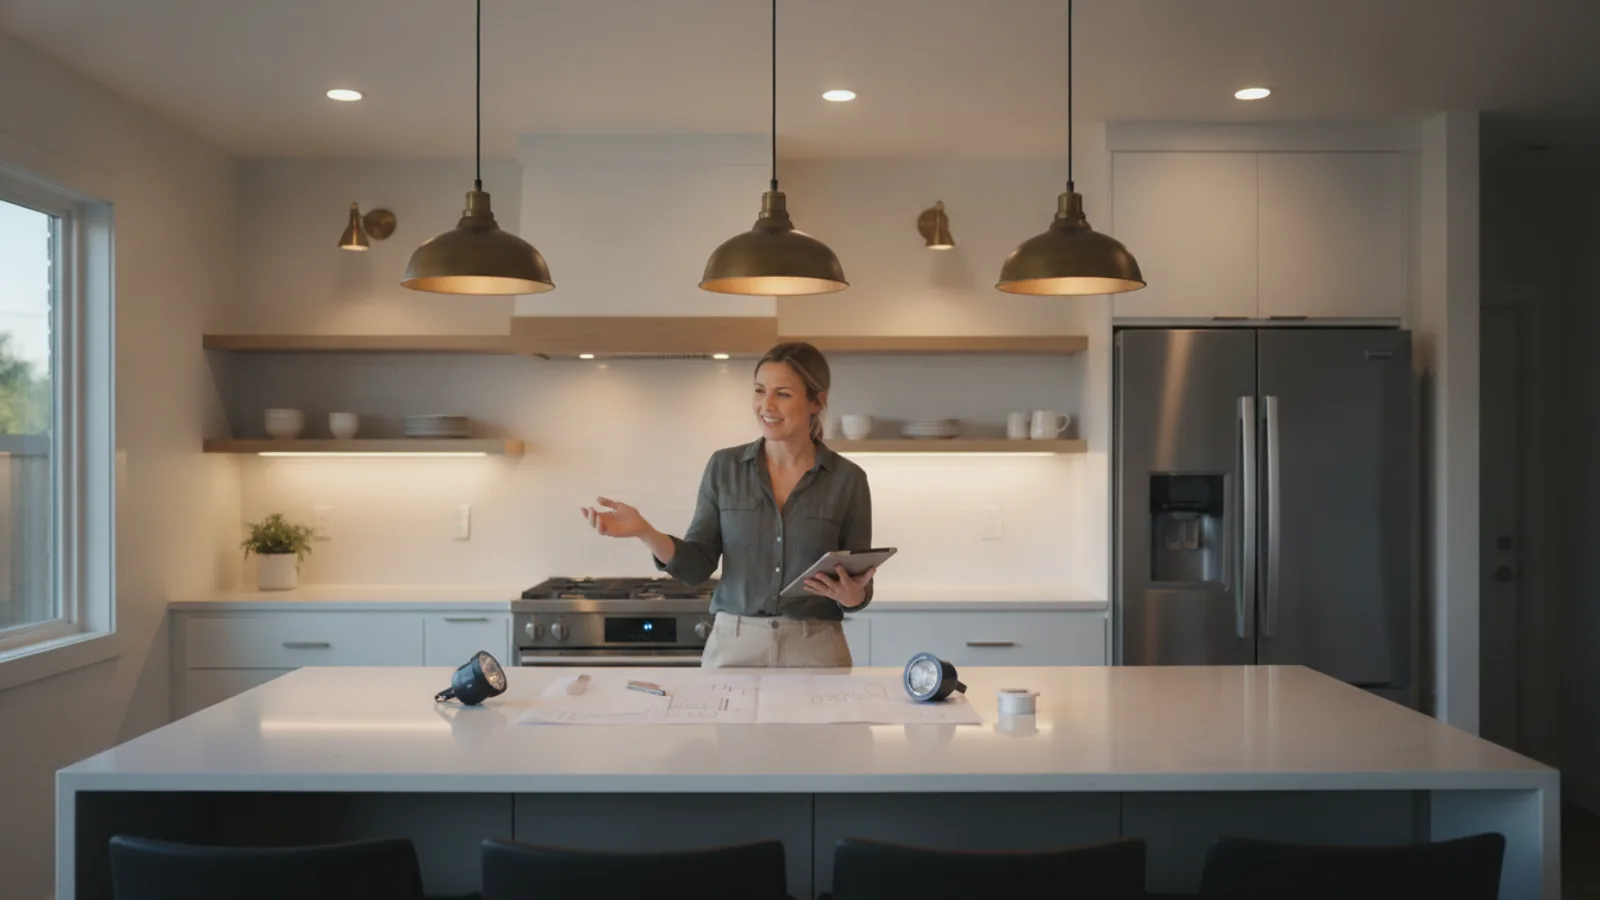
This is a very common oversight. Your main ceiling lights often cast shadows directly over you when you're standing at a worktop. The solution is usually simple: you lack sufficient **task lighting**. The most effective fix is to install **under-cabinet LED strip lights** directly beneath your wall cabinets, positioned to illuminate the centre of your work surfaces. For kitchen islands, consider dedicated **pendant lights** directly above the task area to eliminate shadows.
Problem: The kitchen feels too bright, sterile, or like an operating theatre.
This often happens when too much cool-toned general lighting is used without dimming capabilities or warmer accent lights. Your kitchen might be over-lit or using bulbs with too high a colour temperature (e.g., 5000K or above). To fix this, introduce **dimmer switches** for your ambient and accent lighting circuits, allowing you to reduce brightness. Consider replacing some bulbs with **warmer colour temperature LEDs (around 2700K-3000K)**, especially for ambient and accent layers, to create a more inviting atmosphere.
Problem: Light switches are in inconvenient places or difficult to reach.
This is a planning issue often realised too late. During the **first fix electrical stage**, you should have meticulously checked switch locations. If you're past that point, correcting wiring can be disruptive and expensive. For a less invasive solution, consider **wireless light switches** that can be placed almost anywhere without new wiring. Alternatively, if you've opted for smart lighting, you can control lights via an app, voice commands, or smart home scenes, bypassing physical switches.
Problem: Lights are flickering, buzzing, or not working correctly.
Several factors can cause this. First, ensure the **bulbs are correctly seated** in their fittings. If using LED bulbs, check that your **dimmer switches are specifically compatible with LEDs**. Older dimmer types are designed for incandescent bulbs and can cause issues with modern LEDs. If the problem persists across multiple lights or circuits, it could indicate a **loose connection or a wiring fault**. In this case, always call a **qualified electrician** to diagnose and fix the issue safely.
Problem: Not enough power sockets near work areas or for appliances.
While not strictly about lighting, inadequate power sockets often go hand-in-hand with poor electrical planning during a kitchen renovation. It’s a common complaint. The best time to address this is during the **first fix electrical work**. Always plan for **more sockets than you think you'll need**, especially around worktops for small appliances, charging points, and dedicated sockets for built-in appliances. If you're past the first fix, an electrician might be able to add a new socket circuit, but it could involve chasing out walls. A less disruptive option might be **pop-up socket towers** integrated into worktops or islands, but these still require a power connection beneath.
Advanced Tips for Kitchen Renovation Lighting
Once you've mastered the basics, these advanced strategies can elevate your kitchen lighting from functional to truly spectacular, enhancing both its utility and aesthetic appeal.
Layering for Maximum Flexibility and "Lighting Scenes"
Don't just think of turning lights on and off. Think about creating different "scenes" for various activities. A truly advanced lighting scheme allows you to combine your ambient, task, and accent lighting layers in different ways for cooking, dining, entertaining, or simply cleaning up. For example, a "cooking scene" might turn on all task lights and bright ambient lights, while a "dinner party scene" might dim the ambient lights, activate accent lighting, and use pendant lights over an island at a lower intensity. This is best achieved with **smart lighting systems** or a well-designed series of **multi-gang dimmer switches**.
Prioritise High Colour Rendering Index (CRI) for Task Lighting
For areas where you prepare food, cook, or read recipes, the **Colour Rendering Index (CRI)** of your light bulbs is crucial. CRI measures how accurately a light source reveals the true colours of objects compared to natural light. For task lighting, look for bulbs with a **high CRI, typically 90 or above**. This ensures that ingredients, food, and even your kitchen finishes appear true to life, making cooking safer and more enjoyable, and helping your kitchen look its best. Many standard LEDs have a CRI of 80, which is acceptable for general use, but higher CRI makes a noticeable difference for specific tasks.
Integrated Lighting Beyond Under-Cabinet Strips
Push beyond the standard under-cabinet lighting. Consider **LED strips integrated into shelving** to highlight cookbooks or decorative items. Install **internal lighting within drawers** or tall pantry units that activate when opened, making it easier to find items. **Plinth lighting** along the base of your units adds a sophisticated, floating effect and a soft, low-level glow, perfect for night-time ambience without needing full overhead lights. These subtle touches add a layer of sophistication and convenience.
Strategic Use of Reflective Surfaces
In smaller kitchens or spaces with limited natural light, maximise the impact of your chosen light fixtures by incorporating reflective surfaces. **Glossy cabinet finishes, mirrored splashbacks, polished worktops, or stainless steel appliances** can bounce light around the room, making it feel brighter and more spacious. While this isn't a lighting fixture in itself, it's a design choice that significantly amplifies your lighting efforts.
Future-Proofing with Smart Home Readiness
Even if you're not ready to commit to a full smart home system during your renovation, ensure your chosen lighting fixtures and wiring are **"smart-ready."** This might involve using standard E27 or GU10 fittings that can accept smart bulbs, or selecting dimmer switches that are compatible with smart home platforms. This gives you the flexibility to upgrade to intelligent control systems in the future without needing another costly electrical overhaul.
Kitchen Renovation Lighting Guide FAQ
Q: How many spotlights do I need in my kitchen?
A: There's no one-size-fits-all answer, as it depends on the size of your kitchen, the ceiling height, and the brightness (lumen output) of the spotlights you choose. A common rule of thumb for general ambient lighting is to space them approximately **1 to 1.5 metres apart** in a grid pattern. For task-specific areas, such as directly over a hob or a central island, you might need them closer together or supplemented with dedicated task lighting. It's always best to work with a lighting plan, drawing the locations on your kitchen layout to ensure even coverage without dark spots or excessive overlap.
Q: What is the best colour temperature for kitchen lighting?
A: The "best" colour temperature depends on the zone and desired mood. For **task lighting** over worktops or cooking areas, a **cooler white (4000K-5000K)** is often preferred. This provides bright, clear light that helps with focus and accurately reveals colours, which is essential for food preparation. For **ambient and accent lighting**, especially in dining areas or to create a cosy atmosphere, **warmer whites (2700K-3000K)** are more inviting and relaxing. The ideal solution is often a mix, using different colour temperatures for different layers, and incorporating dimmable lights to adjust the mood as needed.
Q: Do I need an electrician to install kitchen lights?
A: For any **new wiring, moving existing wiring, or installing new circuits** in a kitchen, it is **highly recommended and often legally required in the UK to use a qualified, registered electrician**. In England and Wales, electrical work in "special locations" like kitchens falls under **Part P of the Building Regulations**, which requires the work to be carried out by a competent person and notified to your local authority. A qualified electrician will ensure the work is safe, compliant, and will issue an **Electrical Installation Certificate**. For simply replacing an existing light fitting with a like-for-like fixture, if you are competent and strictly adhere to safety procedures (like turning off the main power), you might do it yourself, but **safety should always be your top priority**.
Q: Can I mix different types of light fixtures in my kitchen?
A: Absolutely, and it's highly encouraged! Mixing different types of light fixtures is fundamental to creating an effective layered lighting scheme. You can combine recessed spotlights for general ambient light, pendant lights over an island for task lighting, and under-cabinet strip lights for work surfaces, along with accent lighting. The key is to ensure they all work together visually and functionally. Choose fixtures with complementary finishes or styles, and try to match the colour temperature of your bulbs within each lighting layer for a cohesive look.
Final Checklist for Kitchen Renovation Lighting Guide
Before you consider your kitchen lighting renovation complete, run through this final checklist to ensure every detail has been covered and your new lighting is truly perfect.